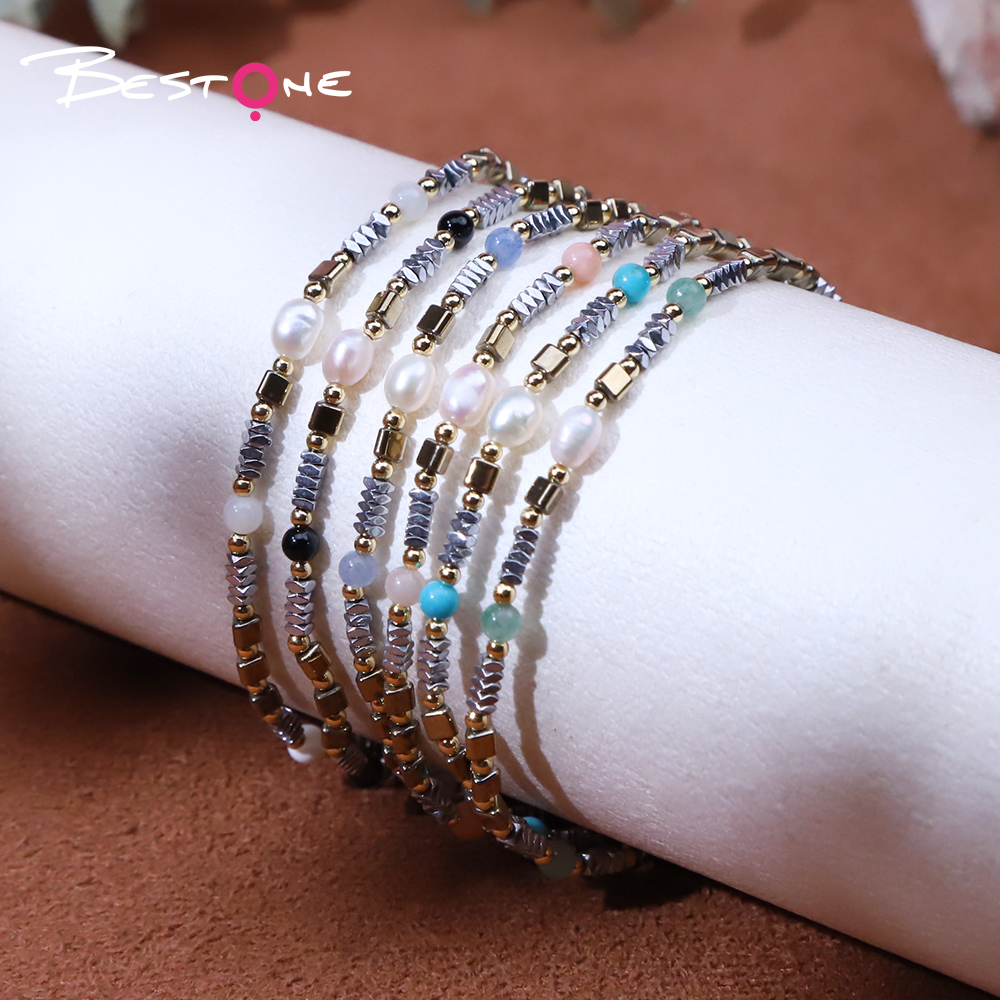
Make jewelry bracelets
Time of issue:2024-08-28
Creating jewelry bracelets can be a fun and rewarding craft project.
Here’s a basic guide to making your bracelets:
1. Gather Materials
Beads: Choose from a variety of materials like glass, plastic, wood, or gemstones. The size, color, and shape will depend on your design.
Stringing Material: Depending on the type of bracelet, you can use an elastic cord, beading wire, or leather cord.
Clasp: For non-elastic bracelets, you'll need a clasp to secure the bracelet. Toggle clasps, lobster clasps, and magnetic clasps are common choices.
Crimp Beads: If using beading wire, crimp beads are necessary to secure the ends.
Tools: You’ll need scissors, needle-nose pliers, and crimping pliers.
2. Design Your Bracelet
Pattern: Lay out your beads on a flat surface to create your design. You can alternate colors, sizes, or shapes, or go for a more random look.
Measure: Measure your wrist or the wrist of the person who will wear the bracelet. Add about 1 inch (2.5 cm) to this measurement to ensure a comfortable fit.
3. String the Beads
Elastic Bracelet:
Cut a piece of elastic cord about 10 inches (25 cm) long.
String the beads onto the cord in your desired pattern.
Once all the beads are strung, tie a secure knot in the elastic cord. You can double-knot for extra security.
Trim any excess elastic, leaving a small tail to tuck into the nearest bead.

Beading Wire Bracelet:
Cut a piece of beading wire about 10 inches (25 cm) long.
Slide a crimp bead onto one end, followed by one half of the clasp.
Loop the wire back through the crimp bead and use crimping pliers to flatten it, securing the clasp in place.
String your beads onto the wire in the desired pattern.
Finish by adding a crimp bead and the other half of the clasp to the other end of the wire. Crimp it securely and trim any excess wire.
4. Attach the Clasp (if applicable)
If you’re using a clasp, ensure it’s securely attached with the crimp beads and trimmed wire ends are tucked neatly away.
5. Final Touches
Check the bracelet for any sharp edges or loose beads.
For elastic bracelets, pull on the bracelet slightly to ensure the knot is secure.
6. Enjoy Your Bracelet!
Once your bracelet is complete, you can wear it immediately or give it as a handmade gift.
Tips:
Experiment with different bead sizes, shapes, and materials to create unique designs.
Use spacer beads or charms to add variety to your bracelet.
Practice different beading techniques, such as weaving or knotting, to create more complex designs.
Making jewelry bracelets is a creative process, and the more you practice, the more intricate and personalized your designs will become!
Keyword:
